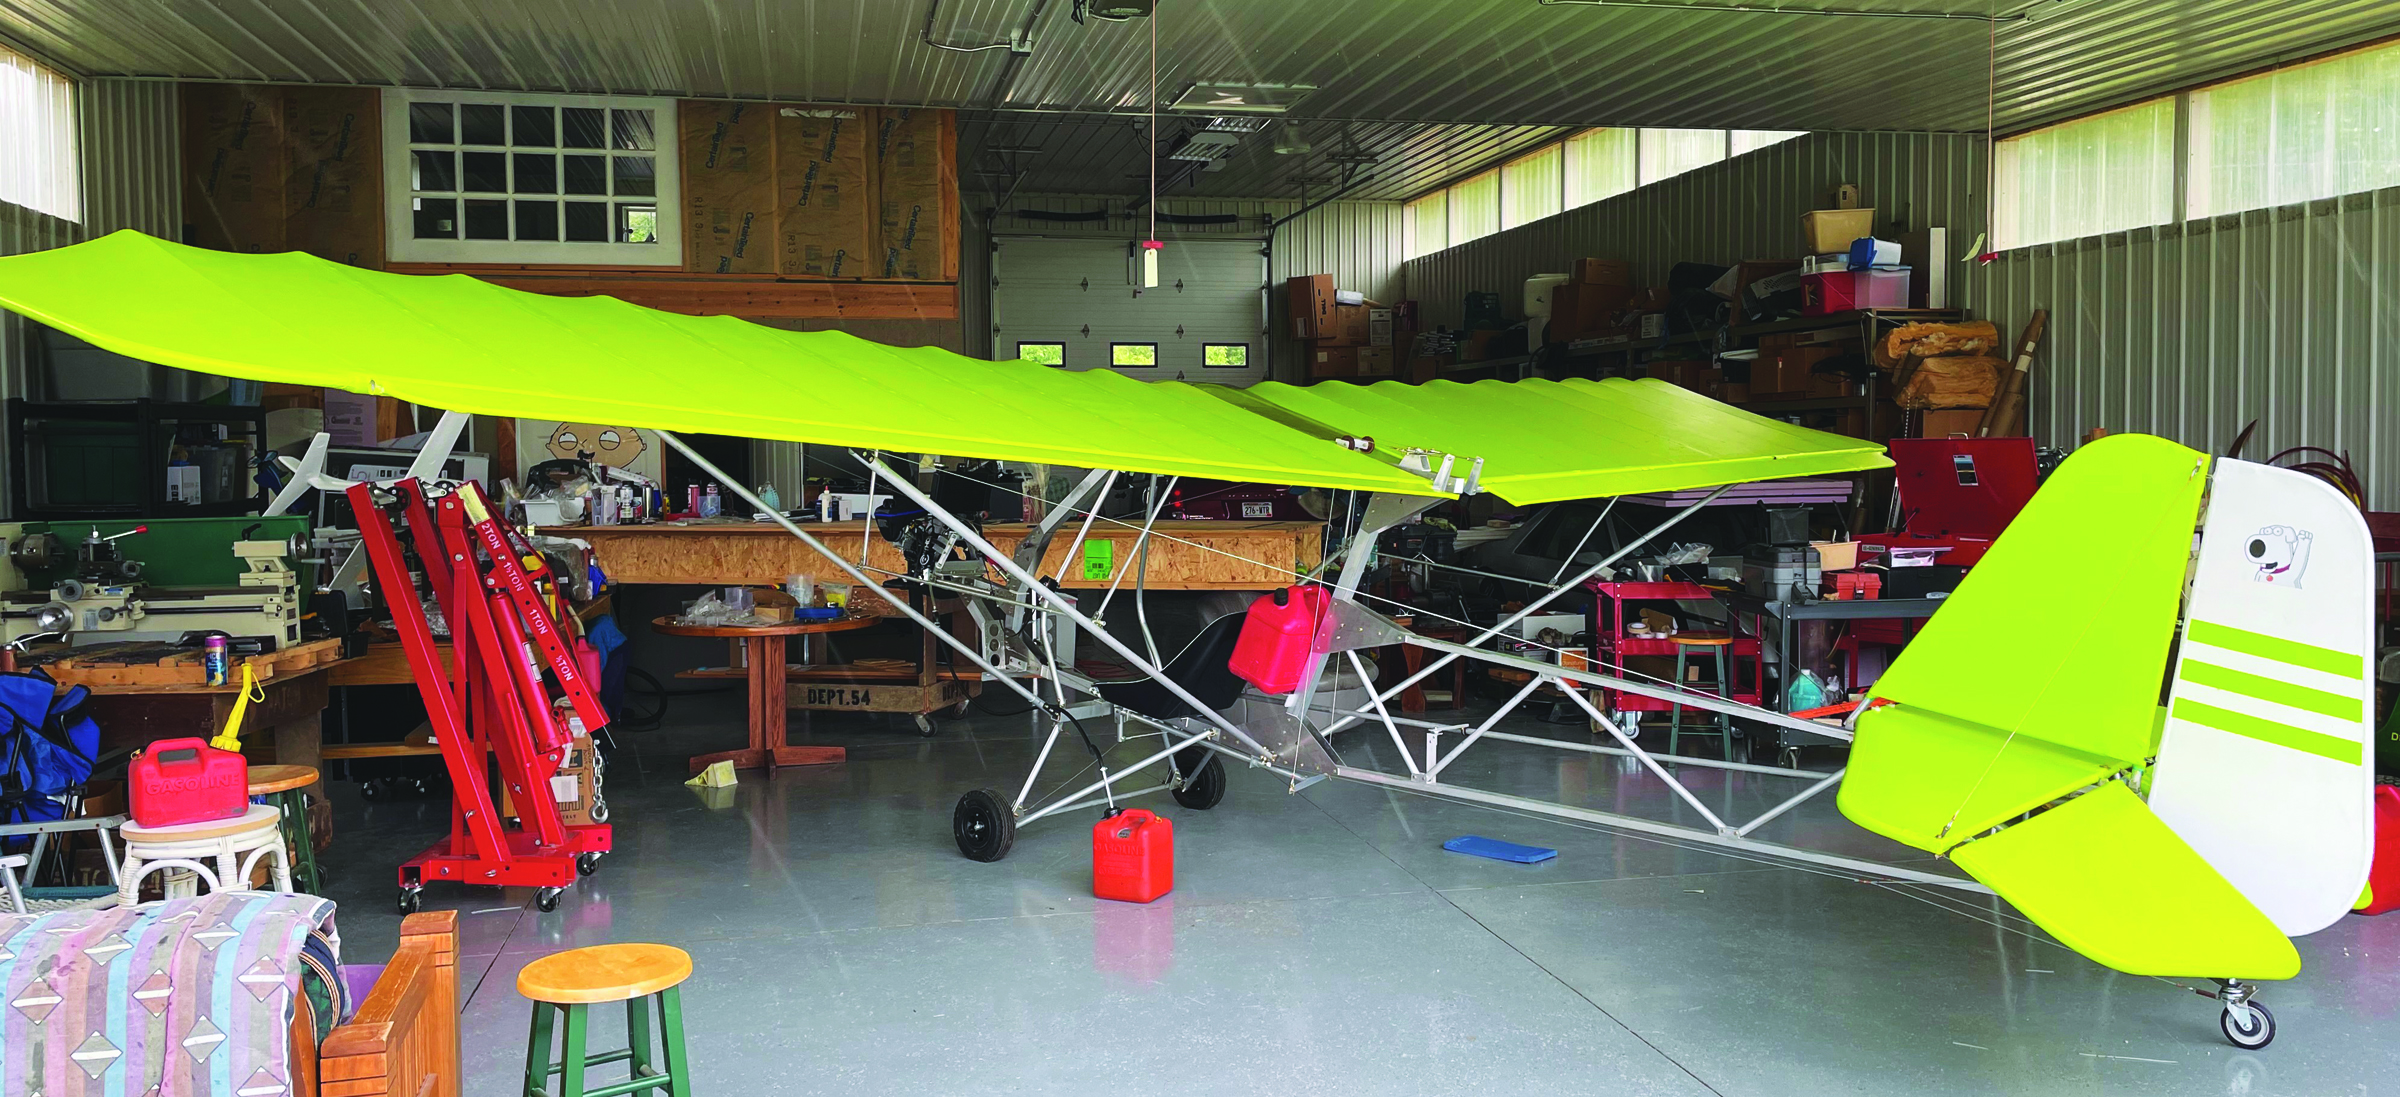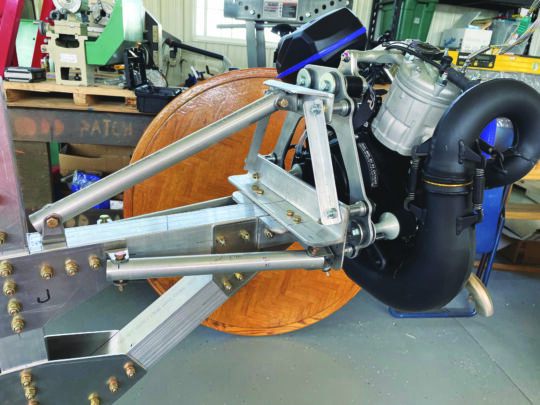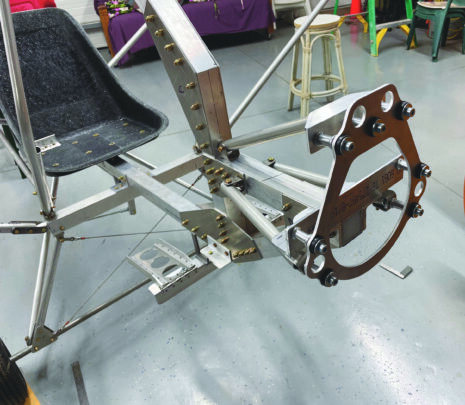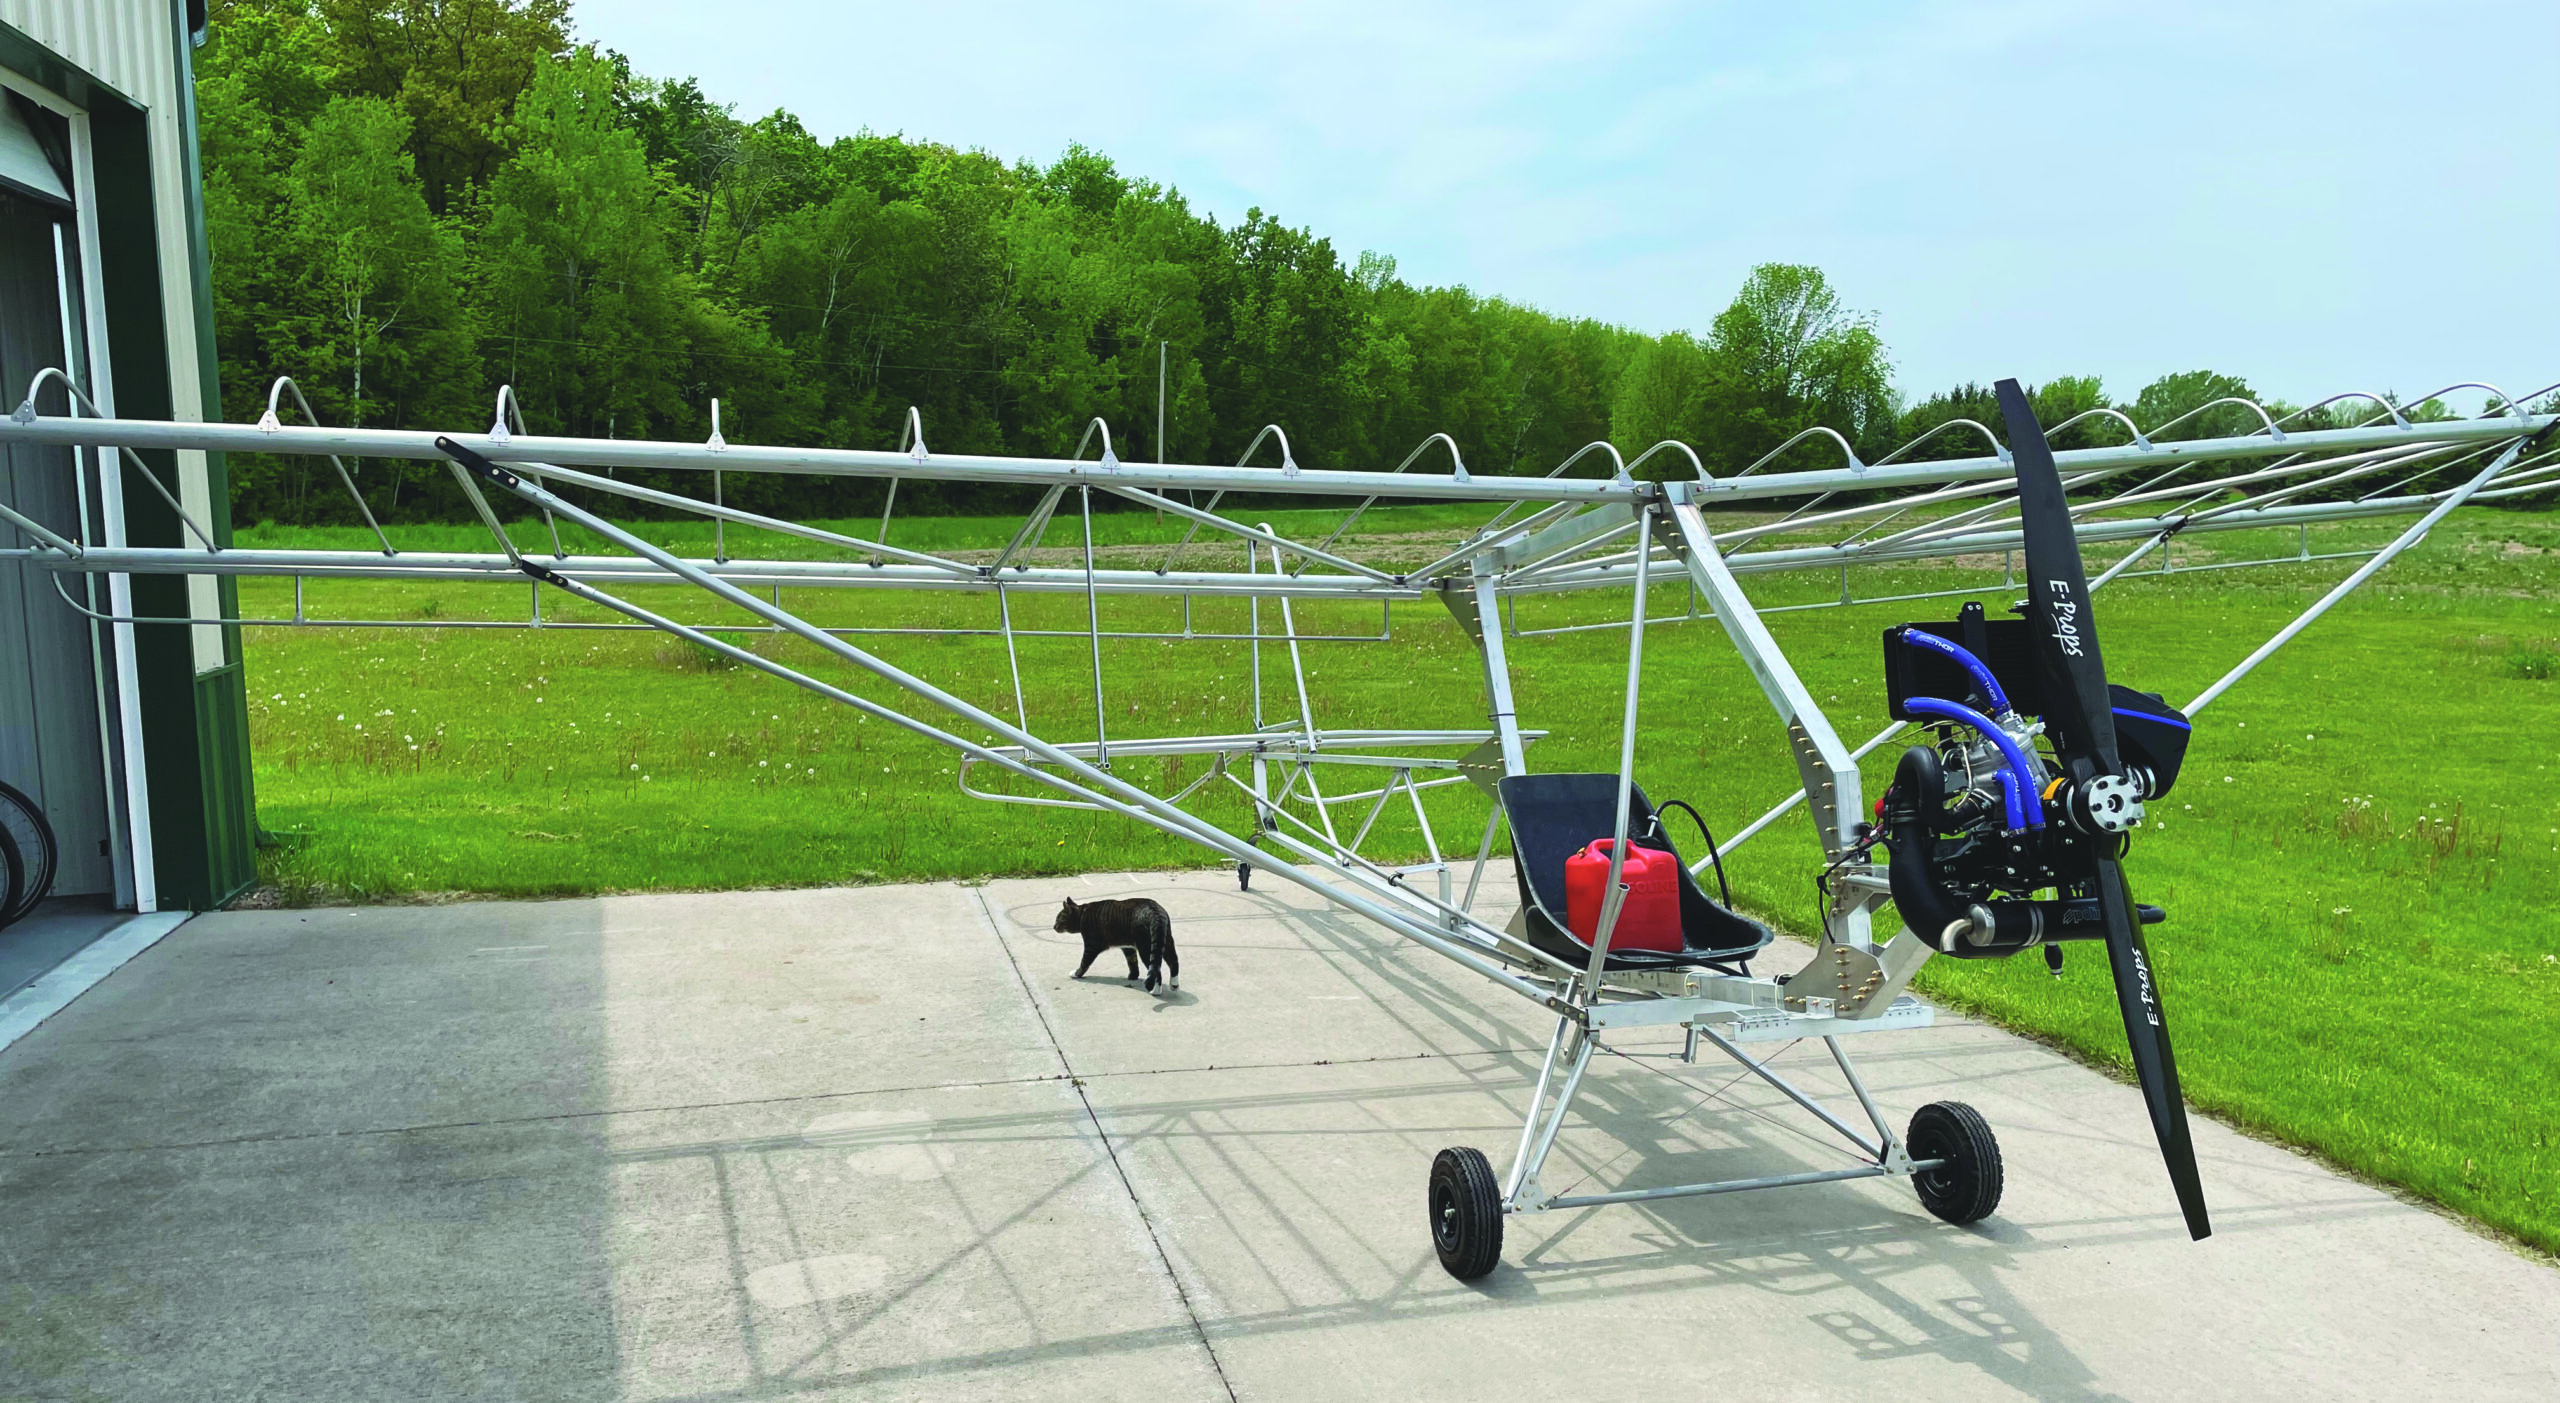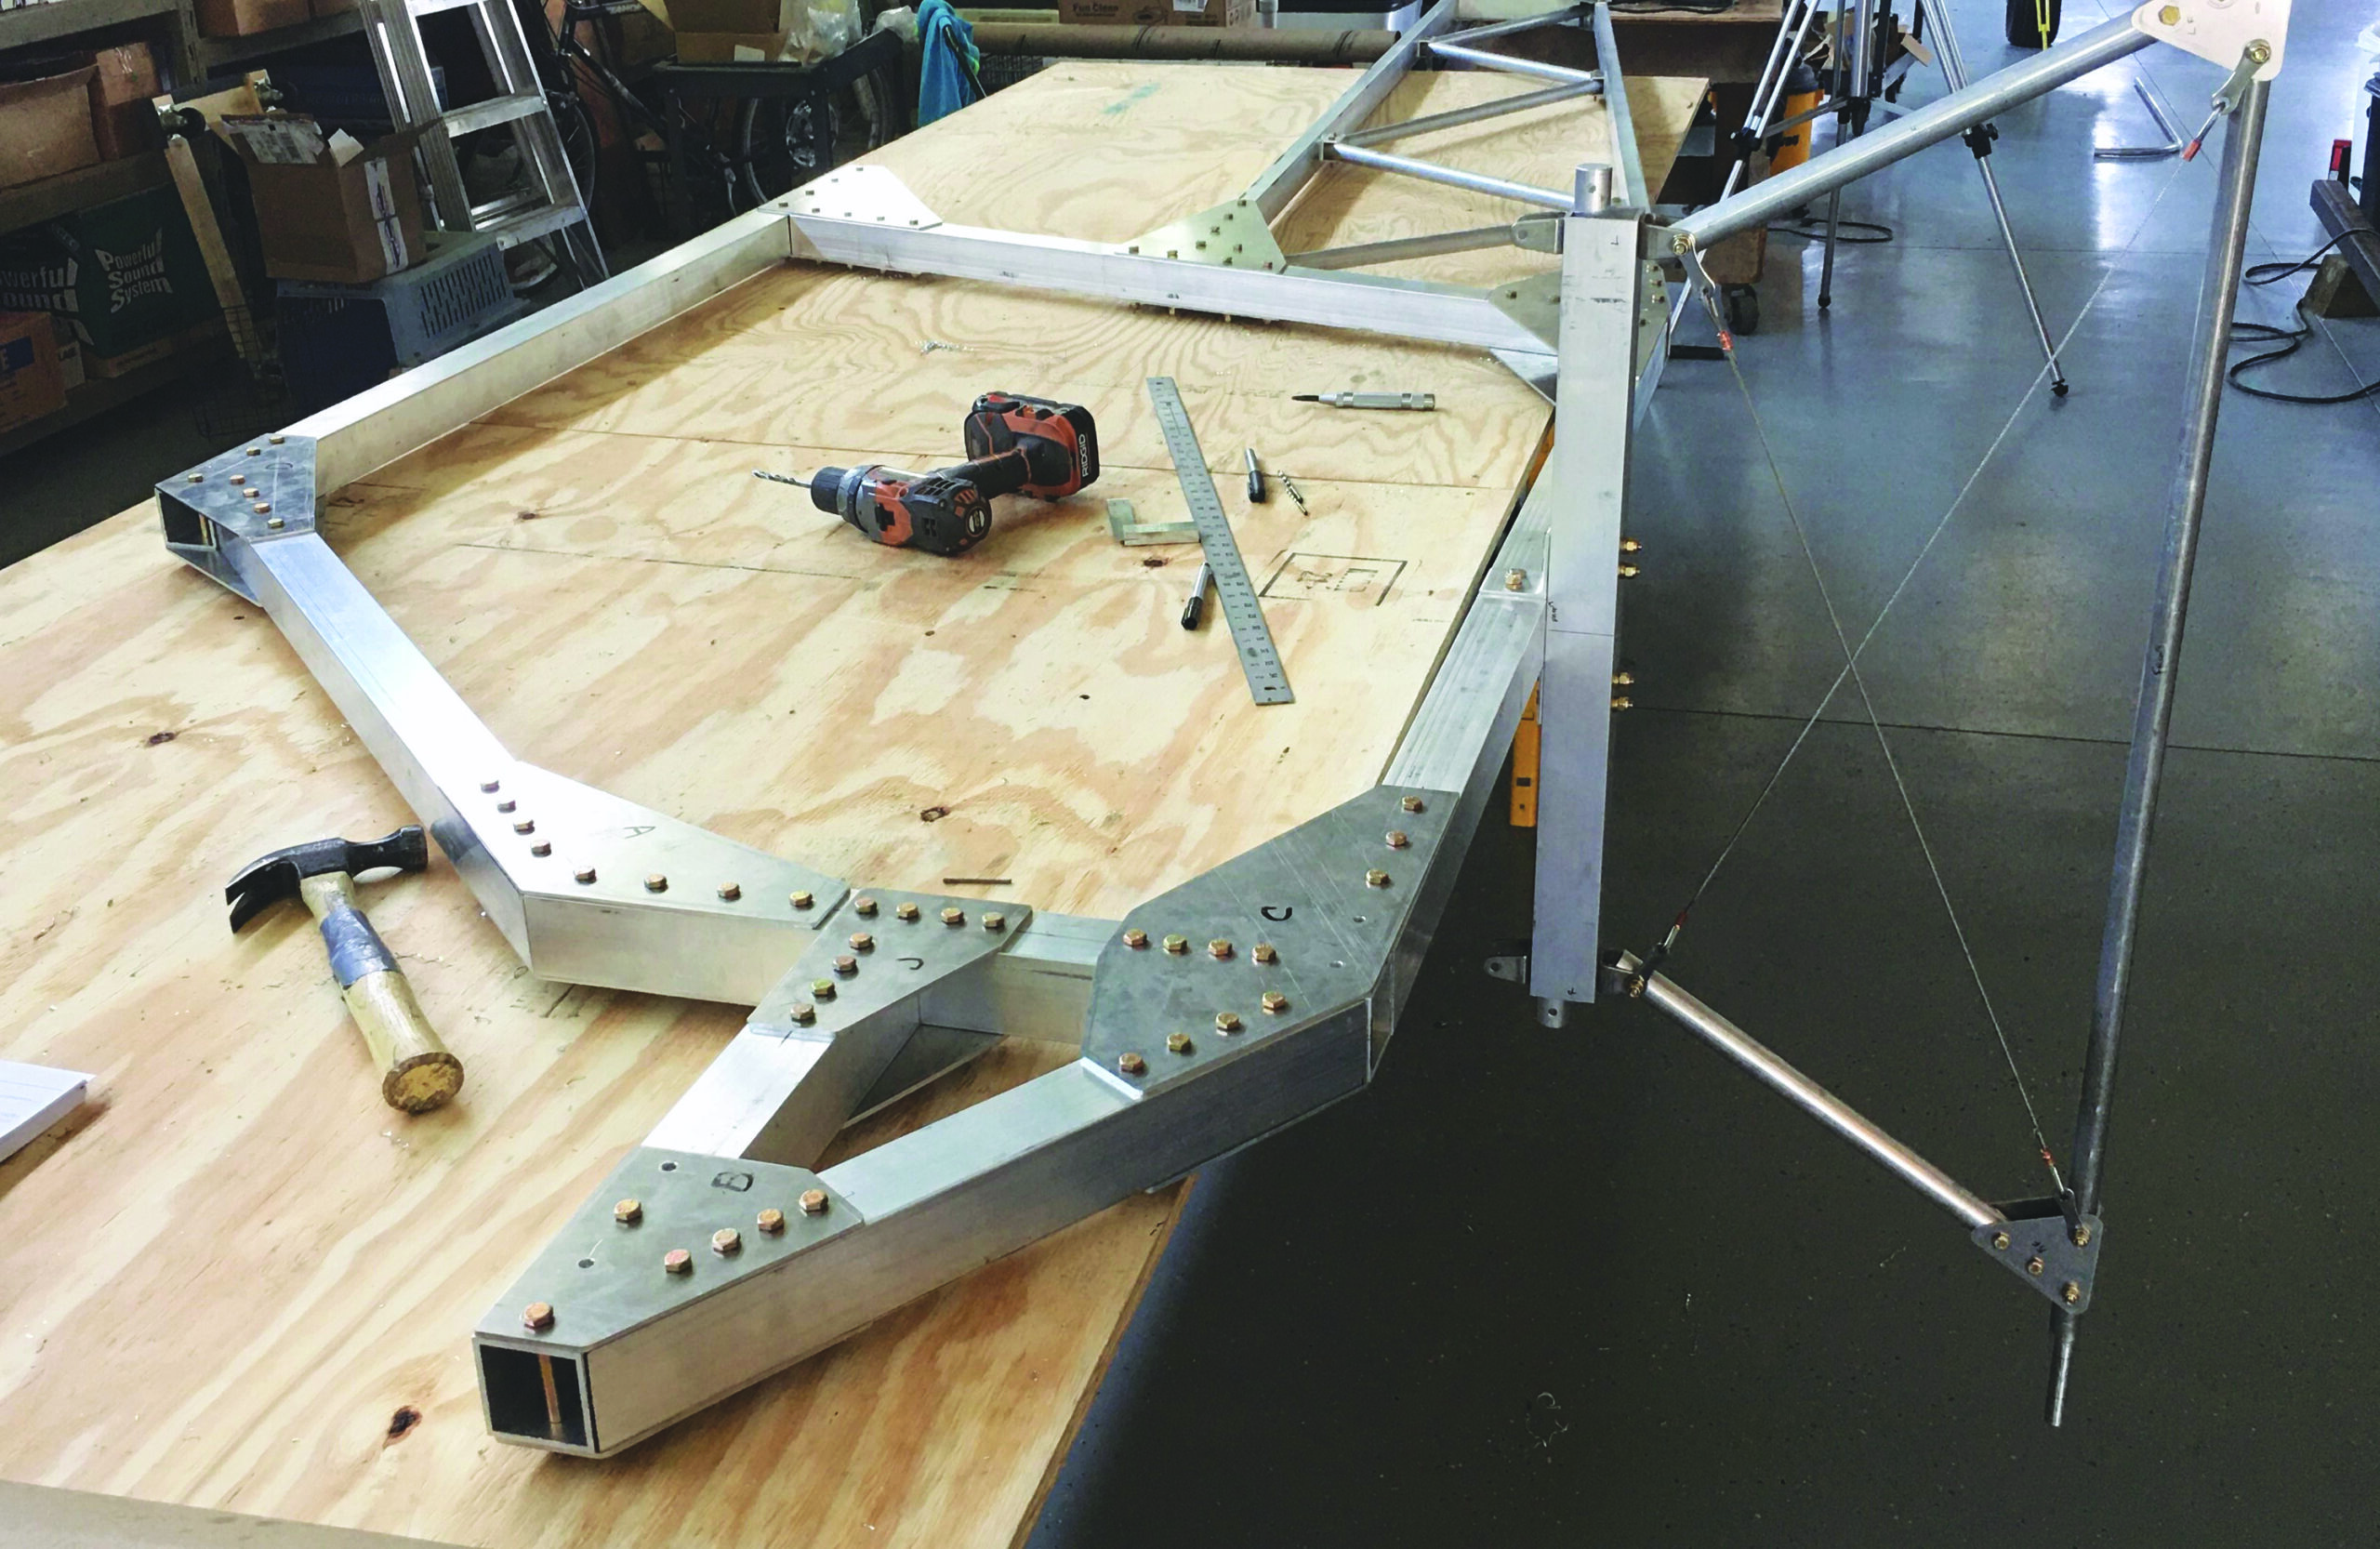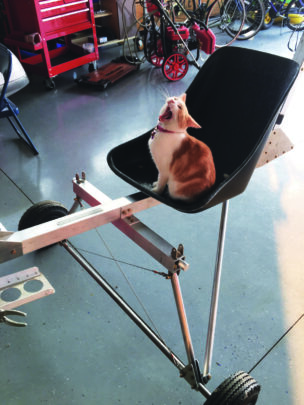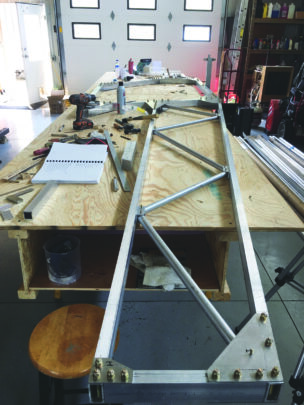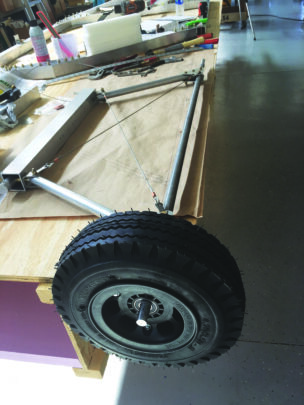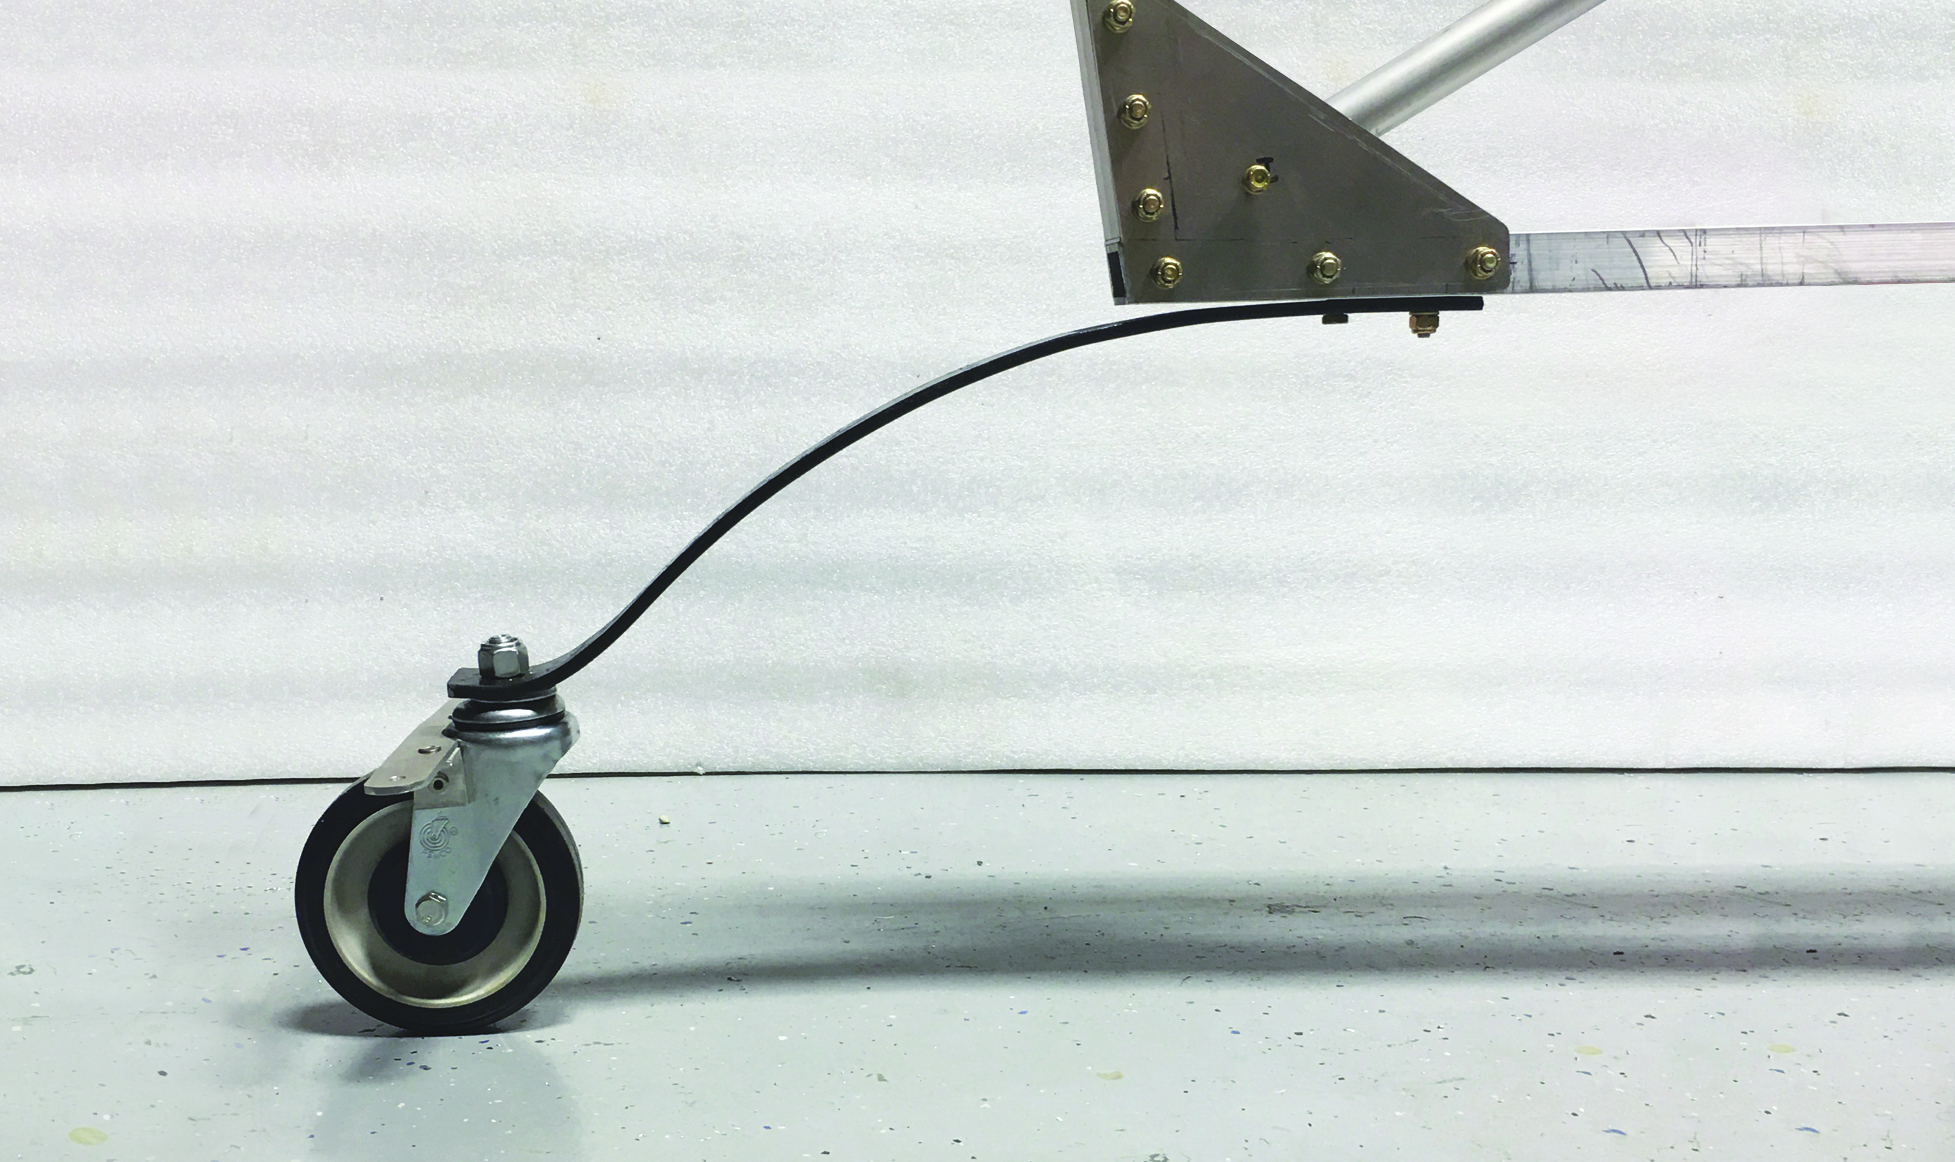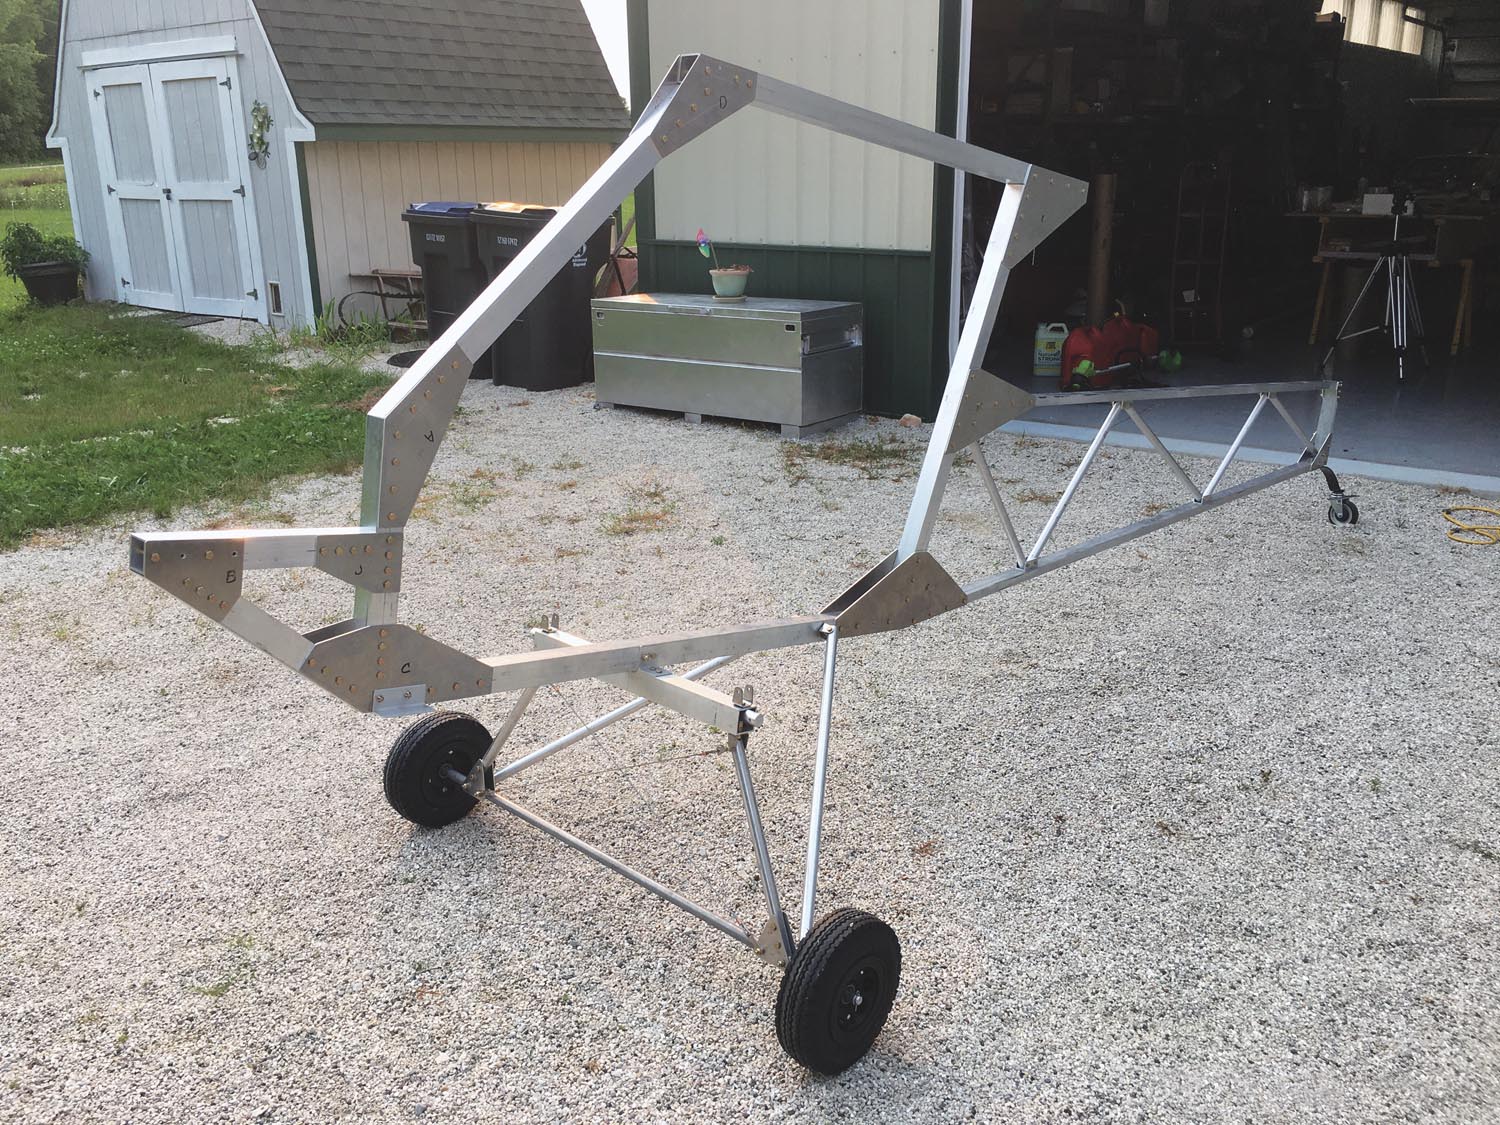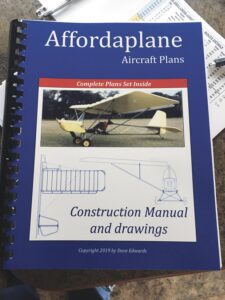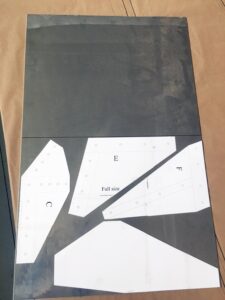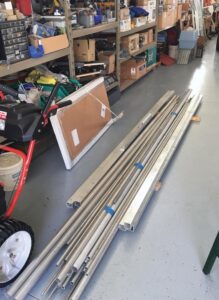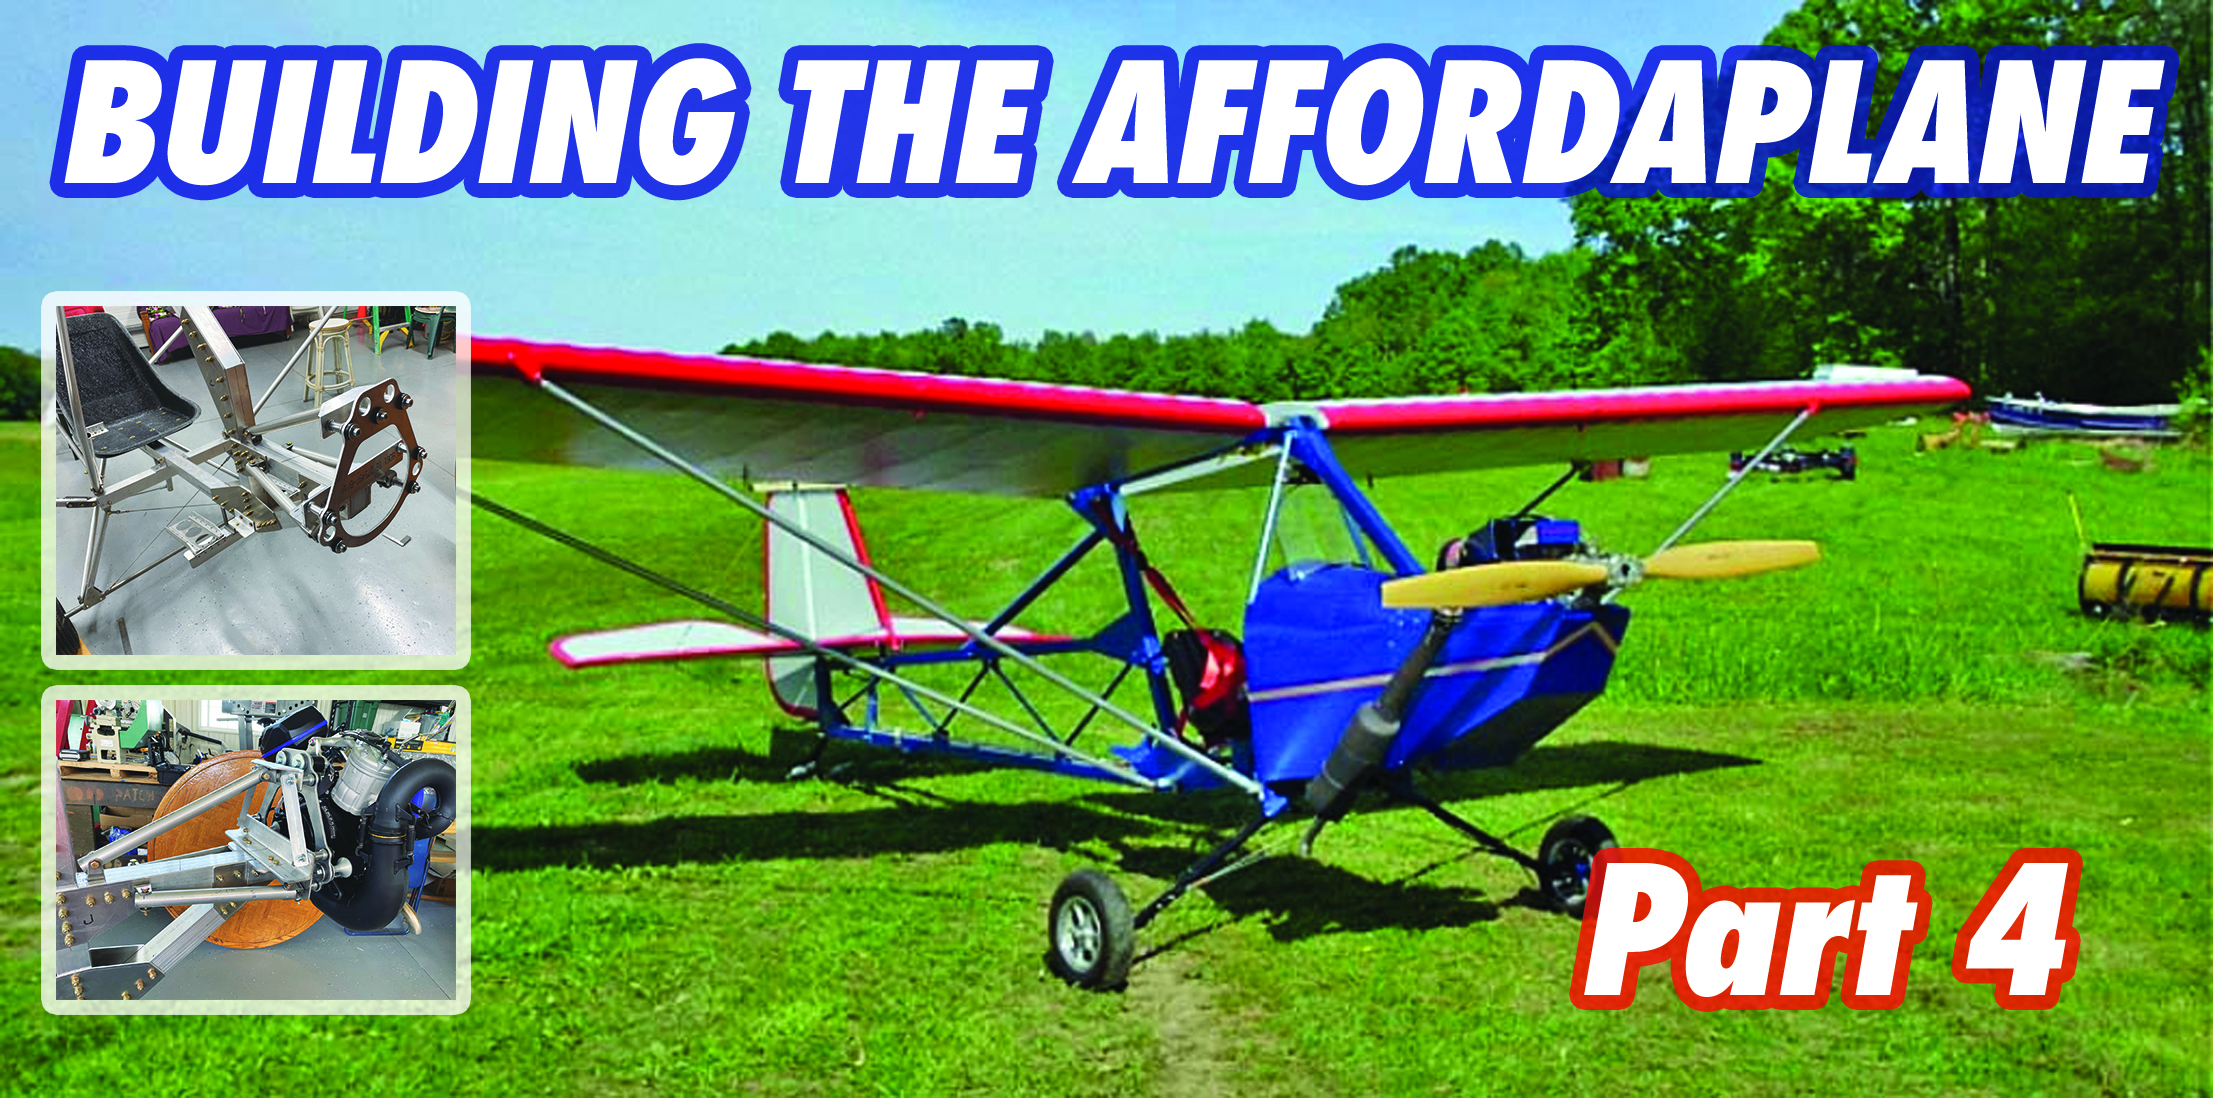
With this, the last chapter of the Affordaplane build, I will describe how an engine mount was created to complete the last major step. As a quick recap of the previous chapters in this series, I was attempting to plans build a legal ultralight using common tools and store-purchased materials. For example: No welding allowed! So, now the biggest challenge confronting me was creating an engine mount needed for the engine installation. First, what engine should be used in this project? This decision could not be made until we were nearly finished with the entire project. Why? The choice of engine is determined by how much weight remains after deducting the aircraft’s total weight from the 254-pound limit imposed by the FAA ultralight regulations. With the wings and tail attached to the fuselage, I weighed the entire structure. Without an engine, the scales read very close to 200 pounds.
Building the Affordaplane, Part 3
Fabric and Paint
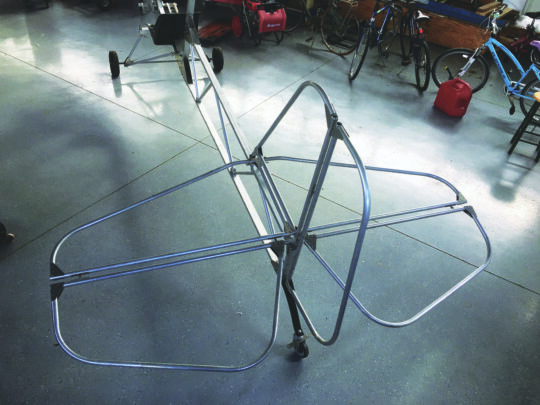
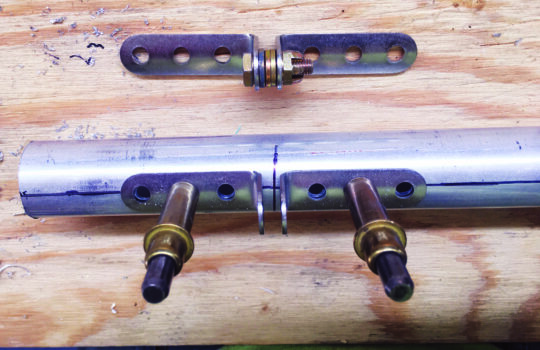
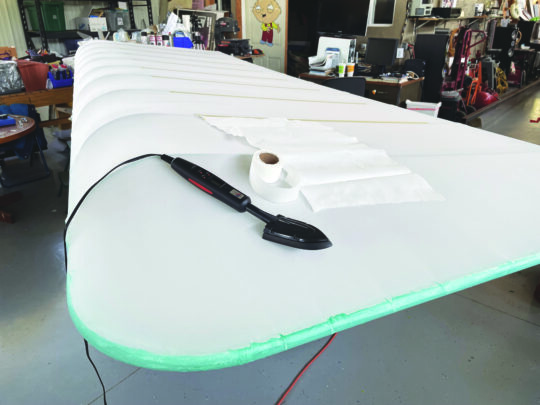
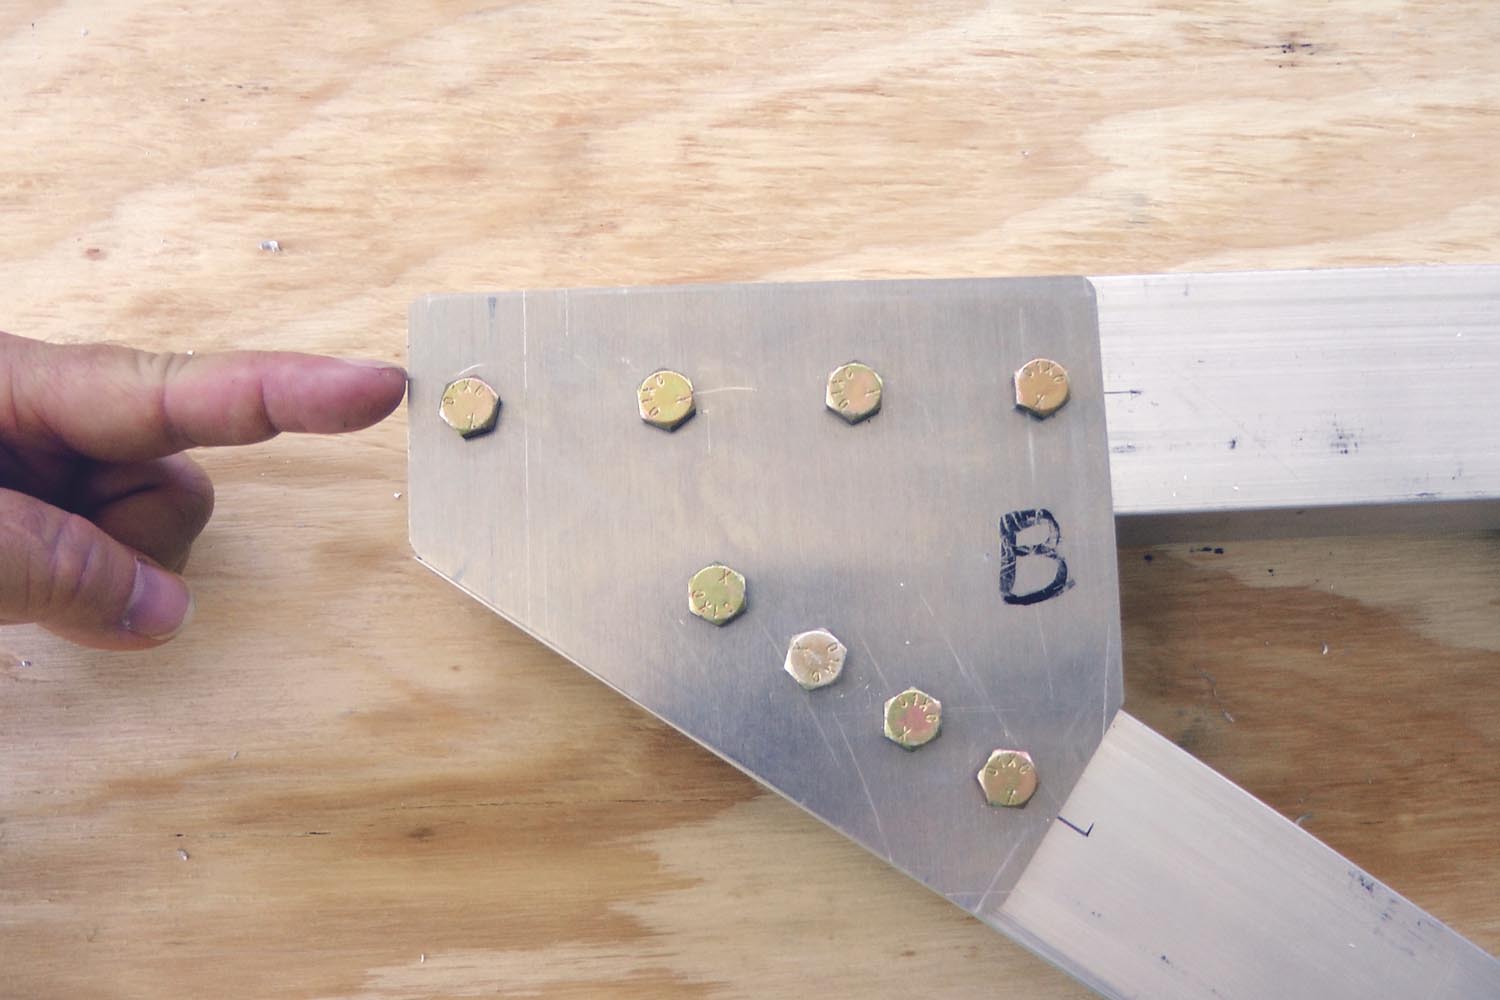
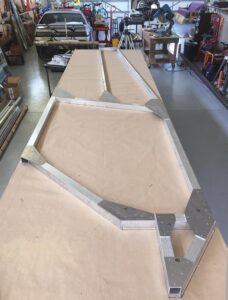
Is it fair to expect a first-time builder to be able to fabric cover their aircraft? Yes! My videos show the step-by-step process for covering this ultralight with the extra-lightweight Poly-Fiber fabric using water-based glue from Stewart Systems. While I am not a fabric covering expert, there is no specific task that is difficult in this process. The water-based glue system means there are no bad fumes or dangerous solvents. Scissors, an electric iron and a paintbrush will get your wings and tail covered and ready for flight. I am not exaggerating that this final step of aircraft building (which often scares first-time builders) is quite easy when you can watch videos showing each step of how to cover specific Affordaplane components. You can’t leave the fabric uncoated—and I was not going to fall into the trap of using expensive aircraft paint—as the Affordaplane would quickly become not so affordable. I experimented with premium, exterior, high-gloss latex house paint. Just a couple coats and it worked great. I was very happy with the result and the ease of applying it with a foam roller. You can spend as much or as little time as you want with colors and designs, and the paint is available at your local hardware store. In our final installment next issue, we will entertain the need for an engine and engine mount. Can you guess how a first-time aircraft builder is going to fabricate an engine mount? And remember, no welding! The Affordaplane plans do not require a specific engine for this airframe, so builders are on their own to choose one that fits their needs. Remember, our need is that the aircraft makes the 254-pound ultralight weight limit, so this will guide our decision. Plane and Simple. https://www.youtube.com/playlist?list=PLhRuUetVypJSgaPHRIqPBbO8Td3ksGq5-In the previous installment, I described construction details for the fuselage section of the Affordaplane ultralight project. Now let’s look at construction of the empennage and wing assemblies. Remember, this is a plans-only type of build using off-the-shelf materials and tools intended for a novice builder. Keep this objective in mind when reviewing the construction and design details. A complete free video series on YouTube shows each step of this construction. The components of the empennage (rudder, elevator, vertical and horizontal stabilizers) are all formed from 1-inch 6061-T6 aluminum tubing. These tubes must be bent into their respective shapes, matching template patterns drawn on your workbench. (Use some craft paper for this!) What is the easiest way to form these simple bends? I found that using an electrician’s conduit bender did the job nicely. With a little practice, each tube was formed to the proper shape and then fitted with a gusset to join its ends.
Building the Affordaplane, Part 2
In a previous post, introduced our video project for building the Affordaplane. To review, this is the plans-only project I demonstrated on YouTube for building an ultralight from raw materials. (You’ll find this free 50-part series here.) My objective was to build an “FAA-legal” ultralight using approved aircraft materials and techniques. This month, I will review some of the challenges encountered while building. My approach on making these videos was to show and explain to first-time builders how to take a set of plans and translate them into a series of steps for completing the project. From a construction standpoint this ultralight design is quite unusual in some ways and very traditional in others. The designer, Dave Edwards, had a goal of making sure the aircraft could be built by an amateur with common shop tools and readily available materials.
So, You Want to Build An Ultralight?
Ever consider what it might be like building an ultralight? But first, how do ultralights fit into the arena of “regular” Experimental airplanes like the ones featured in KITPLANES Magazine and other Light Sport Aircraft found on this website? For those not familiar with the technicalities of an ultralight, allow me to briefly summarize the details of what defines an ultralight. Then we’ll consider how they complement their larger brothers. While you may hear pilots and builders use the term ultralight to describe a small, light aircraft in general terms, the FAA has very specific rules as to what constitutes an ultralight. Full details are spelled out in Part 103 of the FARs, but here are the highlights. An ultralight has a single seat (pilot-only capable), an empty weight of no more than 254 pounds and a maximum speed of 63 mph. So, if you ever see a small plane with more than one seat, or one that obviously weighs more than 254 pounds, that aircraft does not meet the legal criteria of an ultralight.
Dingo—a Single Seat, Open Cockpit Biplane
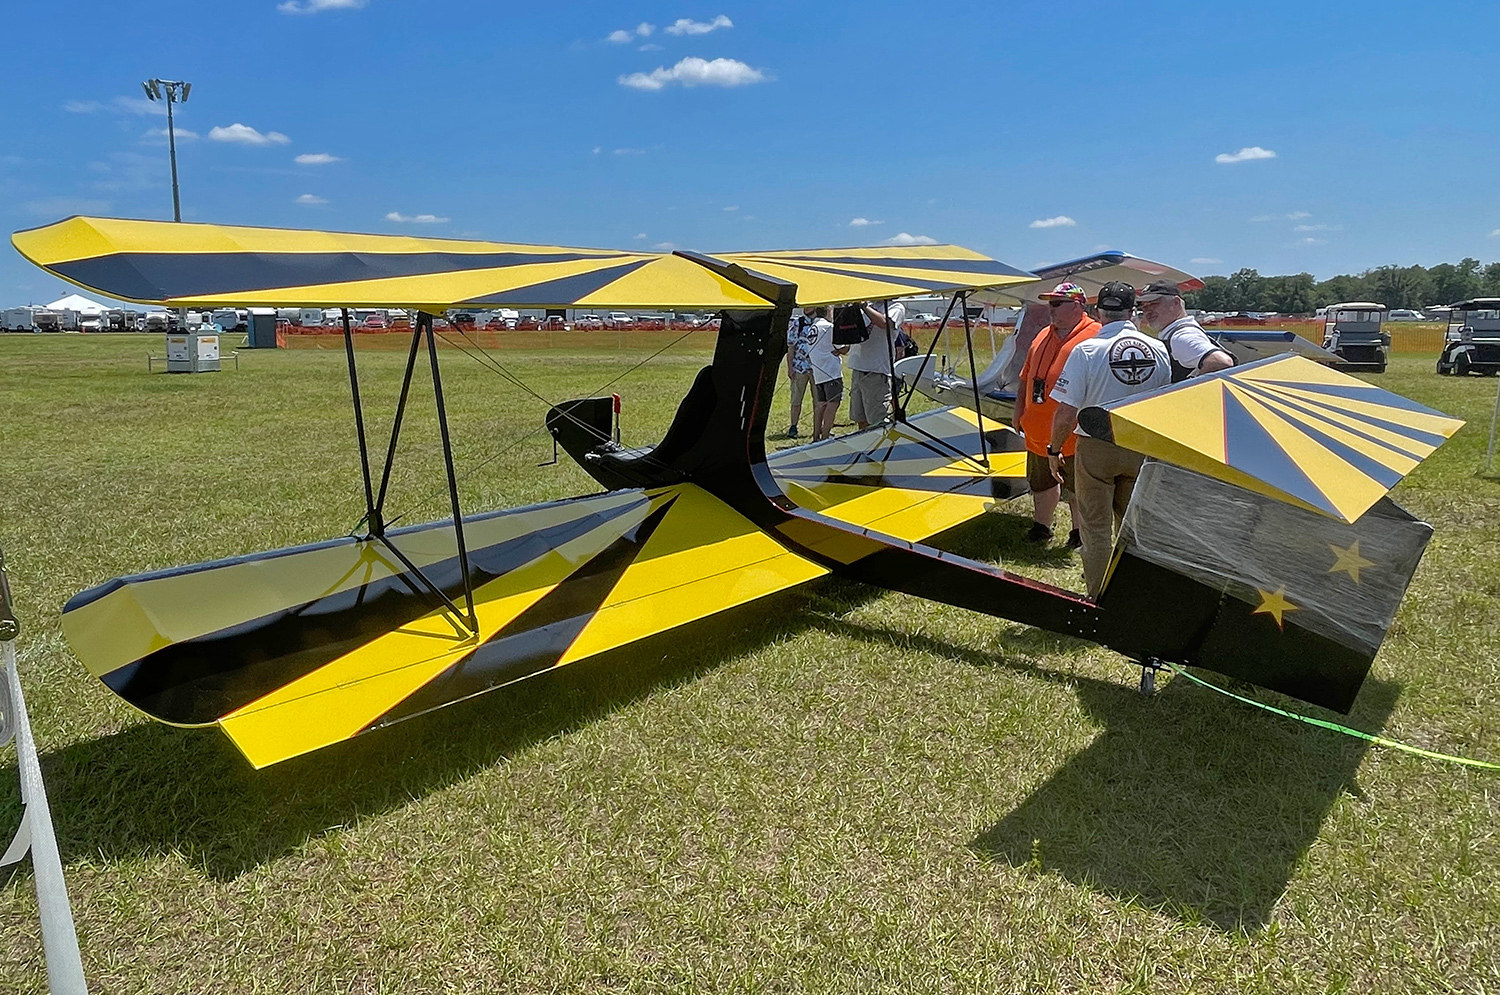
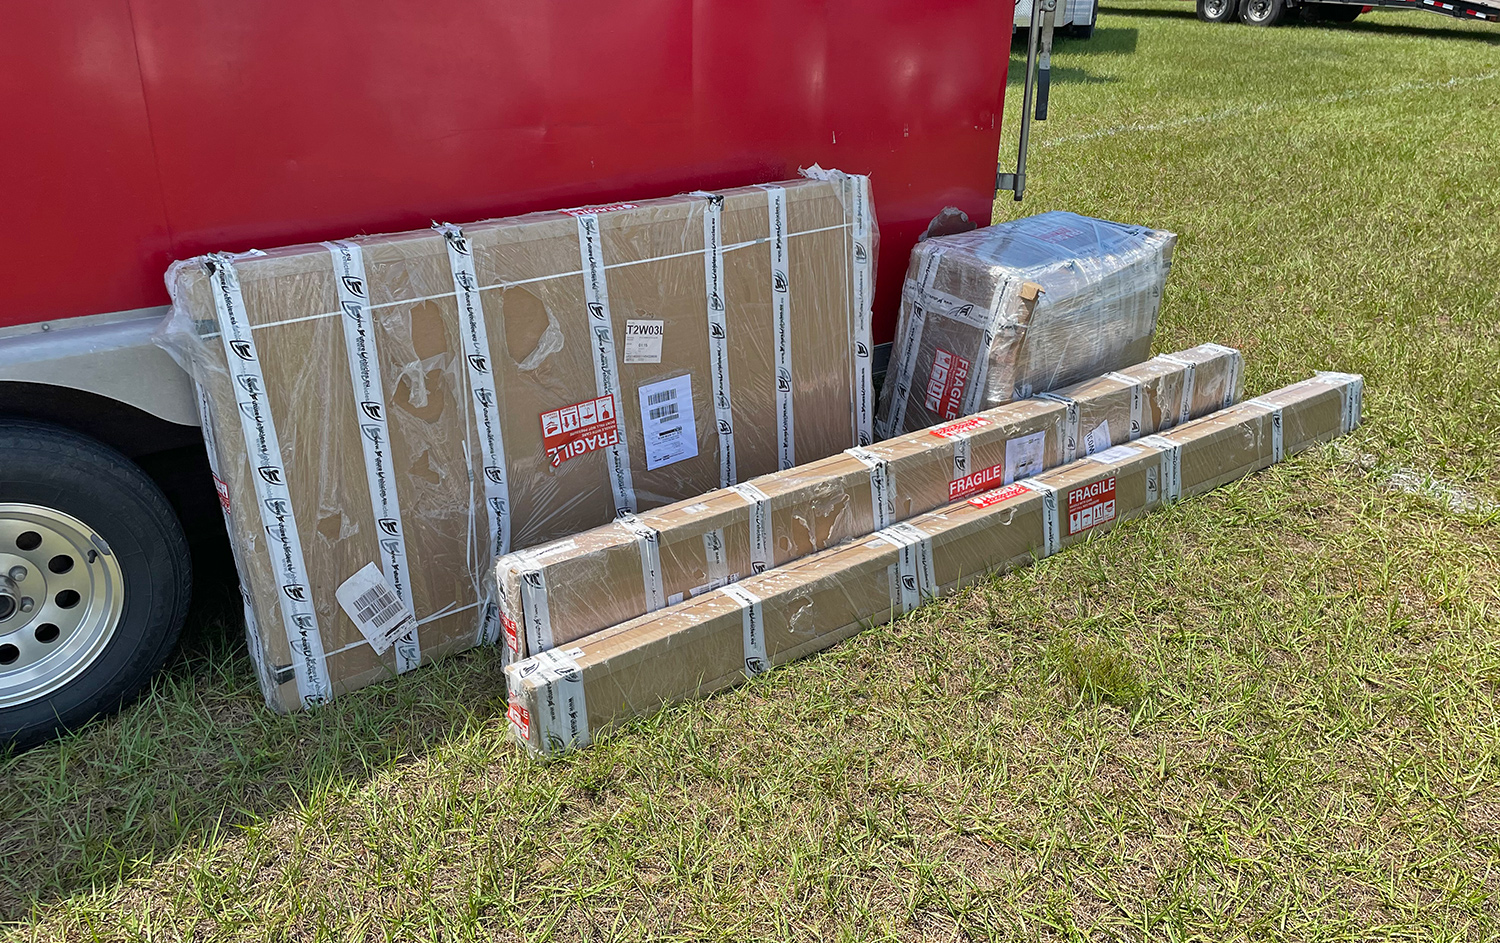
On display in Paradise City (the show’s area for light planes and ultralights) are a pair of “Dingos” – a relatively new ultralight kit design from Future Vehicles, a manufacturer located in the Czech Republic (futurevehicles.eu/dingo). The Dingo is a single seat, open cockpit biplane weighing in at approx. 210 lb without engine. The airframe is riveted from sheets made of aluminum 6061 and 2024 alloys. The ailerons and elevator are operated by rods and the rudder is controlled by cables. All sheet metal parts are already drilled and it is only necessary to rivet them (matched-hole technology utilized). The construction manuals with breakdowns and part numbers are in PDF format and are available on their website for public viewing. Also, videos of each stage of construction, showing the proper sequence of assembly, are provided on the Future Vehicles website. Rick Bennett, of Bluff City Aircraft LLC (bluffcityaircraft.com) is the US distributor for the Dingo.